How to Add XP and Vista/Windows7 on One Computer
Tools Required
1. EasyBCD 1.7.2
2. Windows XP Bootable CD
3. Microsoft .Net Framework 2.0
Recently I upgraded to Windows 7 RC from my XP and experienced the latest features what Microsoft has to offer in their new Version of Windows. I found every aspect of Windows 7 better than XP except for a few software’s which are not compatible with Windows 7 as of now, so I wanted my XP back but I also liked Windows 7 which has so many features which XP doesn’t offer. So it was this requirement of mine which pushed me to get both the OS’s on one system.
So here’s a very easy & small tutorial which will guide on how to add Windows XP assuming that Vista/Windows 7 already installed.
Step 1
Free Some Space for the Installation of XP(20 GB Recommended), I would suggest you empty the drive. Do Not use the same drive where Vista/Windows 7 is installed.
Step 2
Insert your Windows XP CD and Restart your computer.
Step 3
Follow the instructions to Install XP, make sure you don’t install both the OS on a single drive.
Step 4
Once your installation completes, XP will boot up. Now what we are going to do is add Vista/Windows 7 Boot Loader so that at the time of Booting, we are able to see both the Operating Systems and choose according to our wish. So once XP is up and running, install .Net Framework and EasyBCD 1.7.2.
Step 5
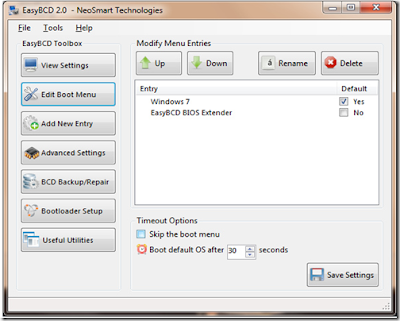
Launch EasyBCD 1.7.2, Click On the Add/Remove Entries Tab(see image below)
In the “Add an Entry” section, change the Drive in the dropdown menu from C:\ to the drive where you have installed XP. Change Type to “Windows NT/2k/XP/2k3″, and the Name to “Microsoft Windows XP”. Then click “Add Entry” and “Save”.
Step 6
Then click on the Manage Bootloader Tab, make sure that “Reinstall the Vista Bootloader” is selected then click on “Write MBR” tab(see image below) after that restart your system.
On Reboot, you will be able to see both the Operating Systems, choose according to your wish.


9 comments: